
© 2022 British Car Club of Charleston. All Rights Reserved.

Click on one of the buttons below if you would just like to peruse the Galleries.

BCCC webpage of Lowell Wakker
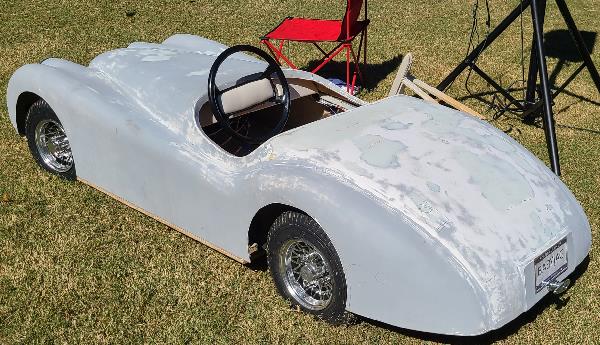
The Baby Jaguar
The Baby Jaguar
In a prior issue of the Windscreen, a picture and brief description of one of my last projects was posted. Because of my passion for XK-120 Jaguars, I created a model of my ’54 roadster by gluing up precut pieces of blue-board Styrofoam. I spent long hours scaling the 14 foot long original automobile to an 8 foot model, as close to 5/8 scale as I could make it.
All that original building took place over 30 years ago and then the project was stored away until last spring. Inspired by the rapid improvements in the shape and smoothing of the model, I am really committed to finishing the model in the following ways.
I will spray a couple of coats of polyester primer surfacer, sometimes called Featherfill. That will clearly show all the flaws. Many hours of sanding later, a coat of catalyzed primer will make it ready for the mold maker. Seven coats of wax on the model and off she’ll go.
Using wood and clay, I will create forms for the four bumpers, grille, tail lights and parking lights and vacuum form the parts. They can be chromed by vacuum metalizing. And since the creation of a scale windscreen is very difficult, I’ll make Brooklands windscreens instead.
My goal is to have a mold from which multiple bodies can be produced. I am re-engineering the drive mechanism and steering assembly from an old E-Z-GO golf cart. Narrowing the axles will be the hard part. After completion of a simple frame and reinforcements, I should have a 36 volt running-driving chassis. I’m hoping I can fit my 6’5” frame inside the car so I can drive it myself, probably around the yard and in parades. I hope the pictures give some idea of where I am in this project. Wish me luck.


These are year old photos; some progress has been made since.
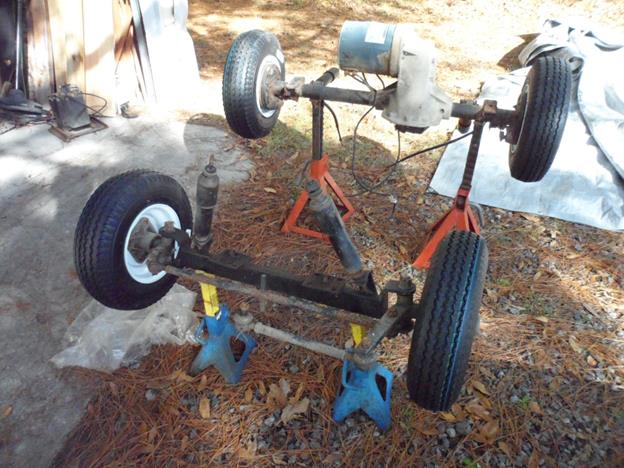
Correct scale tires are from a utility trailer. Three 12 volt deep cycle batteries for power, instead of six 6 volt golf cart batteries. Car will have lights, leaf spring suspension, rear wheel brakes and shock absorbers and scale model upholstery. Any ideas on how to make wire wheel hubcaps? Contact me at lowell@chariotofdreams.com
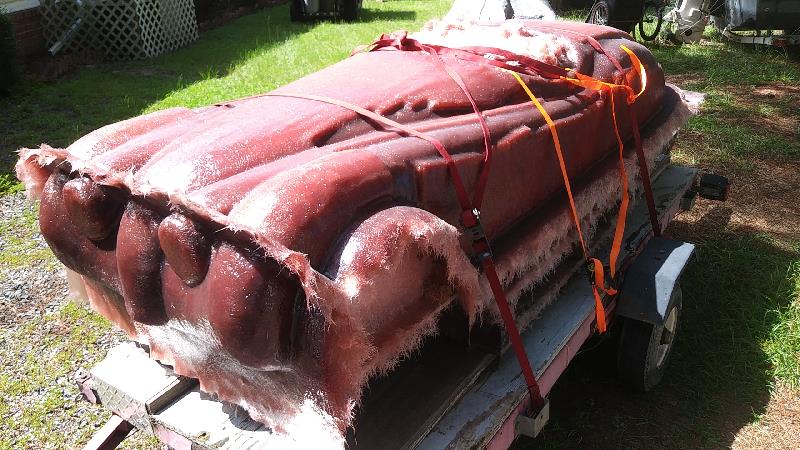
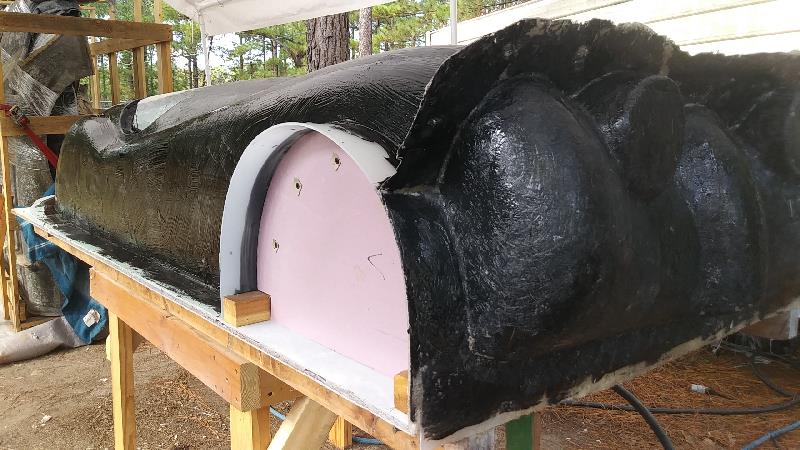
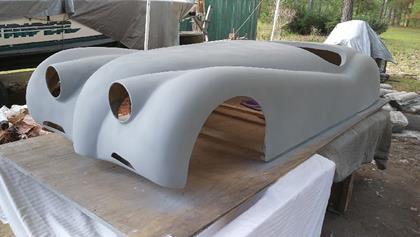
9/5/2020 I took my plug with gel coat and a few layers of fiberglass to a large job shop in Summerville. They bulked up the mold really nicely and I brought it home all fuzzy with glass needles protruding.
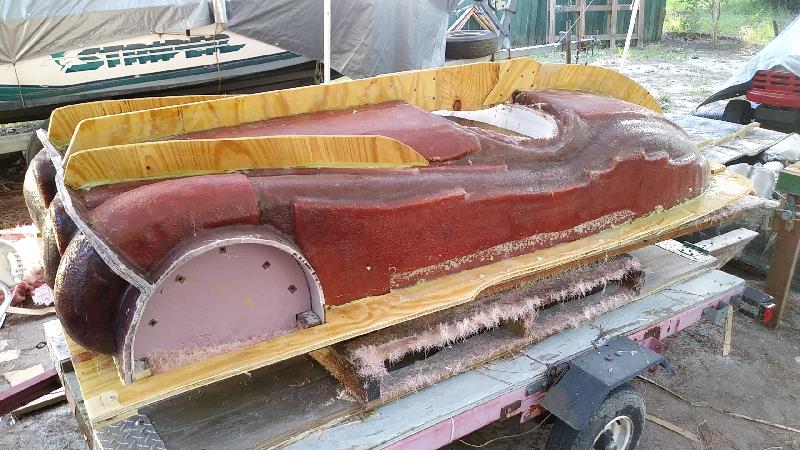
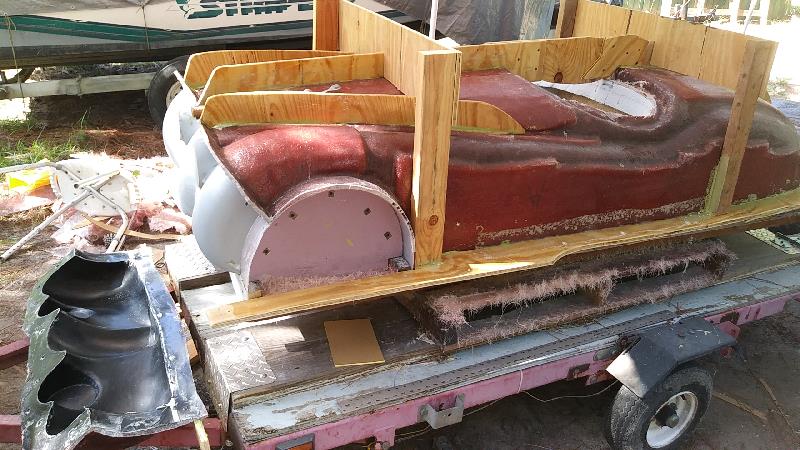
I sawed off the dangerous parts, sanded off the rough edges and then fabricated all the curved wood pieces for the perimeter and the ribs on the top. After glassing them in, I popped off the nose half of the mold and that went according to plan. But the main body mold part is having a tough time letting go. The entire front of the car is free, but the turtle shaped butt (boot) won't release easily.
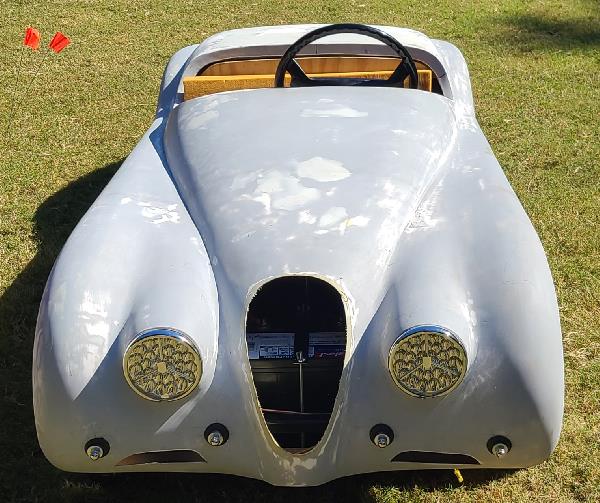
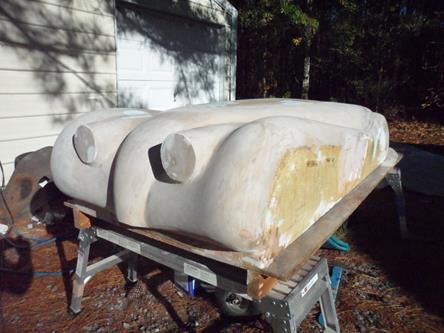
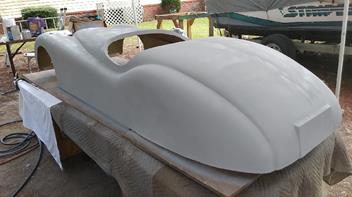
This is the most recent photo set of the baby Jaguar build. Each time I prepared to shoot a coat of primer on the body, surprise! A new set of imperfections would become evident. I know a bunch of remaining flaws will surface with this first coat of primer. Everything looks good in prime.
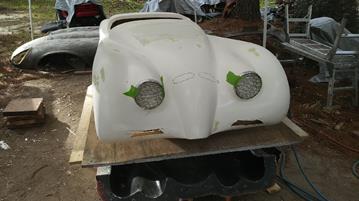
After a few concentrated weeks of work along with the knowledgeable guidance and encouragement of John Bigler and others, the first actual baby Jaguar body emerged. I learned a lot, and this past week was required to correct my errors. The next body will benefit from these experiences. About 50 years from now, I might even get good at this. The LED headlights were purchased at least 10 years ago, so I was able to make them a good fit. I still must make a few vacuum forming molds for the grill and bumpers, etc. And the chassis and running gear are yet another hurdle.
After a few concentrated weeks of work along with the knowledgeable guidance and encouragement of John Bigler and others, the first actual baby Jaguar body emerged. I learned a lot, and this past week was required to correct my errors. The next body will benefit from these experiences. About 50 years from now, I might even get good at this. The LED headlights were purchased at least 10 years ago, so I was able to make them a good fit. I still must make a few vacuum forming molds for the grill and bumpers, etc. And the chassis and running gear are yet another hurdle.
Some mold repairs I cause by aggressively trying to remove the plug while the cockpit surround refused to let go
After gel coats
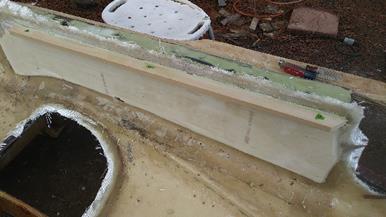
Three or four layers of fiberglass using vinyl ester resin along with 1/2" foam inserted between some of the layers
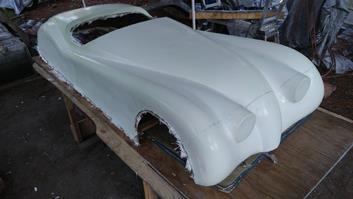
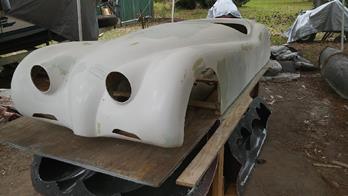
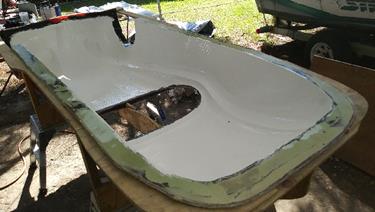
The body fresh out of the mold, still shaggy edges. and the fifth picture is probably yesterday with the headlamp holes and the lower vent holes cut, along with much TLC on the body
The headlamp holes and the lower vent holes cut, along with much TLC on the body
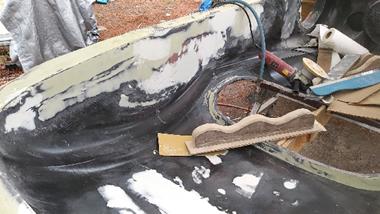
Preparation for paint
Body repairs and prep
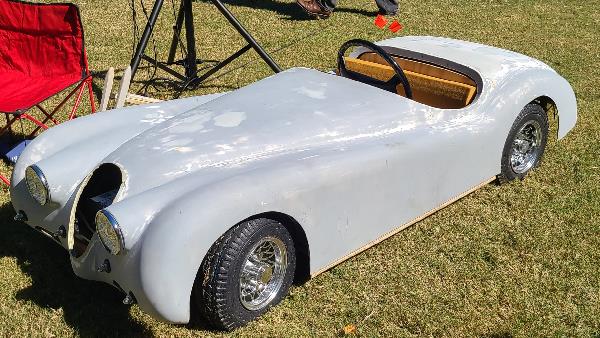
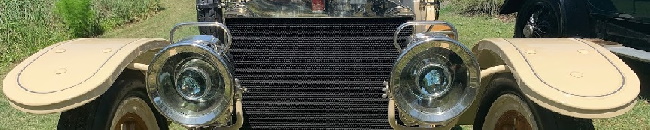
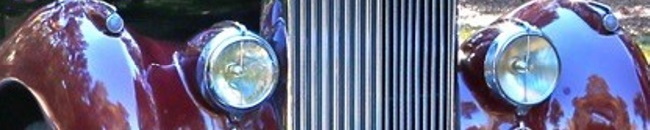
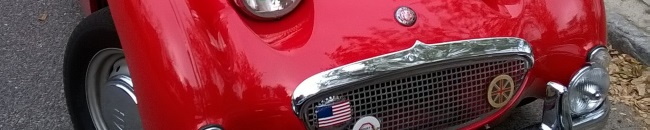
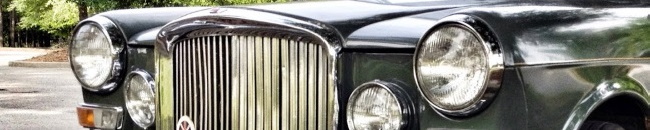
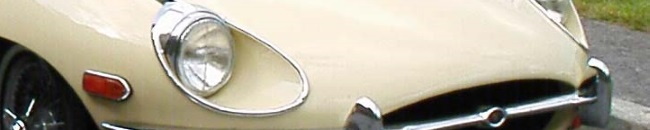
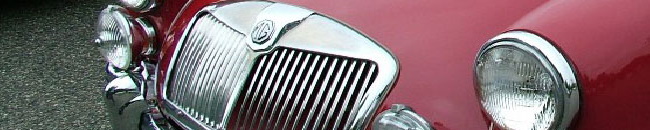
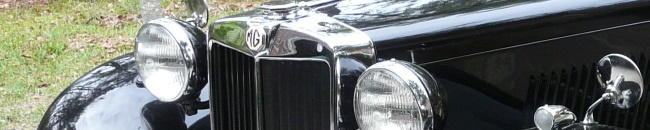
Pictures from 2021 British Car Day