


© 2022 British Car Club of Charleston. All Rights Reserved.
Stainless Steel fender piping for MGA's
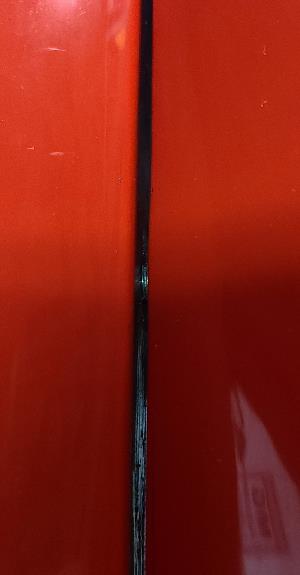
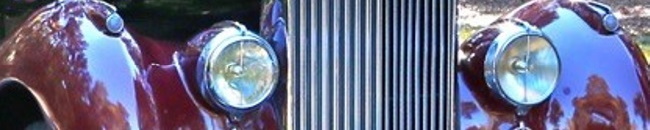
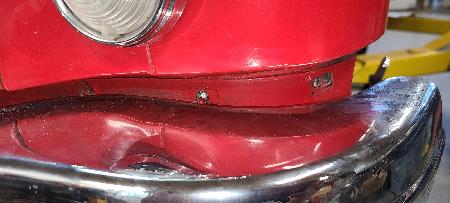
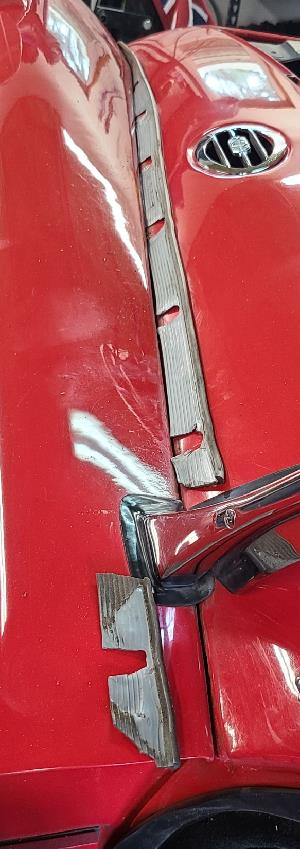
In the latest NAMGAR magazine, MGA!, there was an article about MGA fender piping. When I did a frame off restoration on my A about ten years ago, I put new piping on I got from Moss Motors. It is a silver vinyl type material. After several years it turned a greenish color and was sticky. This was the subject of the MGA! article. The writer of the article read an article about using a certain material to clean it. He said it worked great, for a while. Gradually the piping got worse than before. He found a British car repair shop in Florida who sold stainless steel piping and had it installed on his car. You can easily see the difference between the greenish vinyl piping and the shiny stainless steel piping in the picture above.
Well I did a little web searching and found Dennis Carpenter Ford Restoration Parts that sold the piping. Their website is HYPERLINK "https://www.dennis-carpenter.com/" www.dennis-carpenter.com. It comes in 8 foot lengths so four are needed. The total cost including tax and shipping was $169.
Well I did a little web searching and found Dennis Carpenter Ford Restoration Parts that sold the piping. Their website is HYPERLINK "https://www.dennis-carpenter.com/" www.dennis-carpenter.com. It comes in 8 foot lengths so four are needed. The total cost including tax and shipping was $169.
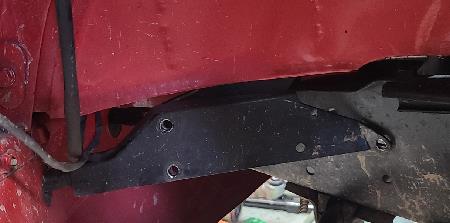
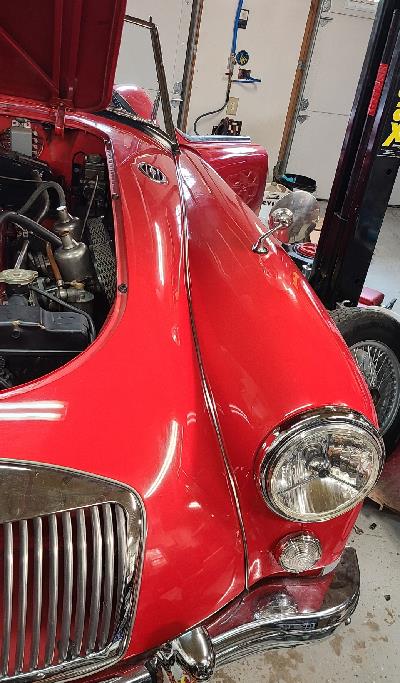
To install the new piping, the fender does not have to be removed. For the front fender piping, the underside splash shield needs to be removed first.
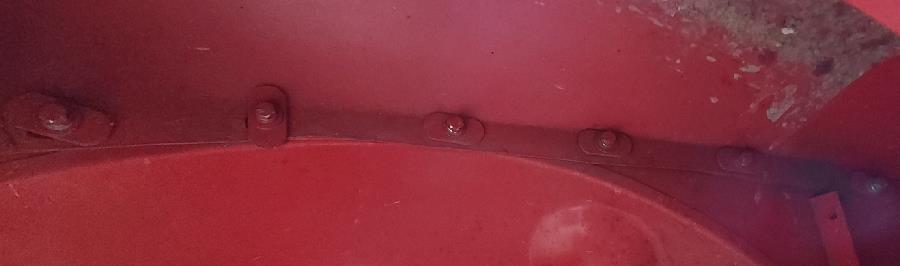
Next the bolts under the fender need to be loosened. When I restored the car, I went back with an airbrush and painted the bolts. Loosen the bolts then continue a few more turns. There are two bolts that are accessed from within the car and two that are accessed from under the hood. Getting to the ones under the hood on the drivers side is a challenge. Use a 1/4" ratchet.
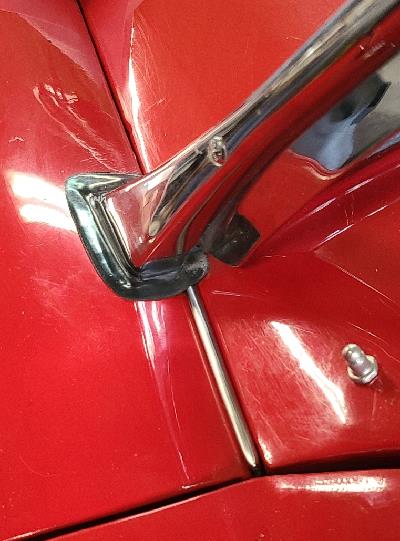
There are three small screws that need to be loosened at the front. To access the screw heads, the three bolts holding the bumper need to be removed.
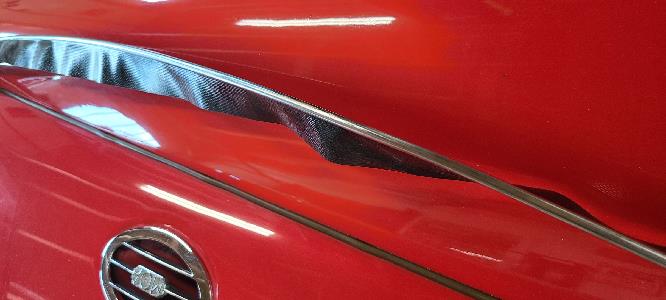
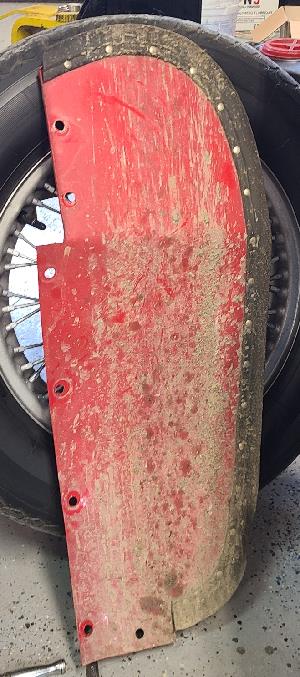
The fender should now be able to be seperated at the piping. You should be able to pull out the piping, as shown to the right. I laid the new stainless steel piping alongside the old piping and used scissors to cut the slots for the bolts. Note that the front has a small piece on the other side of the windshield support. I cleaned the paint along the piping. I also cleaned in the gap.
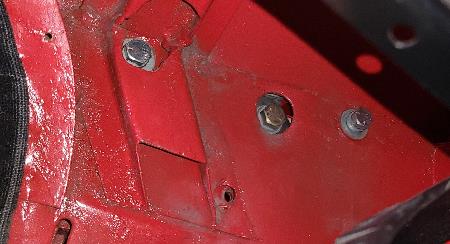
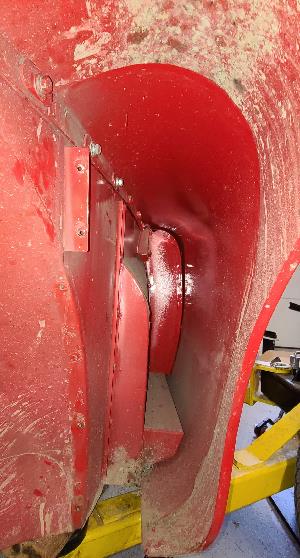
I first did the short piece, shown below. I used a sheet metal sheer to cut the piping. I didn't tighten the last bolt under the small piping until the rest was in place.
I first did the short piece, shown below. I used a sheet metal sheer to cut the piping. I didn't tighten the last bolt under the small piping until the rest was in place.
When doing the long piece, I didn't cut it until most was laid in place. I started by pushing the end under the rubber under the windsheld support. When I had a couple feet in place, I pressed the small piece up front as well as the beginning of the long piece as I tightened the bolts under the dash. I then moved towards the front of the car. I held down the piping about a foot beyond the bolt being tightened. When getting near the grill, I found out that the piping needs to be bent to fit the contour. The webbing will not hold the piping in place.